Image to Animation: How to Animate a Still Image
This image to animation guide covers methods, step-by-step animation, frame checks and fixes for common motion failures in 2026.
You have a still that has to move before the page goes live. A product photo needs a slight sway on a landing page, or a portrait has to look like the person is speaking. The first preview looks fine. Then you scrub the middle and a hand warps, a logo jitters, or the face isn't the same person by the last second.
That gap is what decides whether image to animation is usable. A clip you can publish keeps identity, geometry, and the background intact in every frame, and you had the right to animate the source before you uploaded it. I would score the result the way I'd score a client cut: against a written motion spec, after a rights check, not from the thumbnail.
Table of Contents
- Pick the Right Animation Method for Your Image
- How to Animate an Image Step by Step
- Write Motion Prompts That Keep the Subject Stable
- Prepare the Source Image and Clear Its Rights
- Check Frames for Drift, Flicker and Warped Geometry
- Fix Failed Clips Without Starting Over
- Confirm Your First Clip Before You Scale
Pick the Right Animation Method for Your Image
A sway on a bottle and a head that turns toward camera are different jobs. Pick the route from what must move, not from whichever preset looks cinematic.
| Method | Motion comes from | Control | Best for |
|---|---|---|---|
| Layer-based motion effect | Cut-out depth layers you move | High, but limited to 2D shifts | Logos, product shots, subtle camera drift |
| Motion transfer model | Driving video of another person | Medium, follows the reference | Portraits and talking heads |
| Image-to-video model | Text motion prompt plus source image | Medium, depends on prompt wording | Scenes, objects and camera moves |
| Motion-controlled diffusion | Trajectory or pose inputs | High, most explicit constraints | Multi-part action and choreographed motion |
Each step up the table buys more motion and costs more setup, more review, and more retries. Layers keep the picture intact and only slide cut-outs, so a logo or product shot rarely invents a new shape. Motion transfer copies a driving performance onto a portrait, which is why talking heads work and why a bad reference ruins the take. An image-to-video model invents motion from a sentence plus the still, so the scene can change and so can the subject. Motion-controlled diffusion takes a trajectory or pose, which is the right tool when two body parts have to move in order.
Motion transfer itself grew out of learned keypoints rather than a hand-built rig. A survey of image animation methods traces that line from Monkey-Net's self-supervised keypoints and dense optical flow through the First Order Motion Model's local affine transforms around those points.
If the motion should stay inside the frame, start with layers. If the action comes from a person, use transfer. If the scene must change, use image-to-video. Pose or path inputs are for multi-part action you can draw before you generate. Model choice and the call that sends the still sit in the AI video generation API guide.
Answer one question before you open a tool: what must move, and what must stay identical?
How to Animate an Image Step by Step
Run this on one still before you batch anything. The point is a clip you can rerun, not a lucky preview.
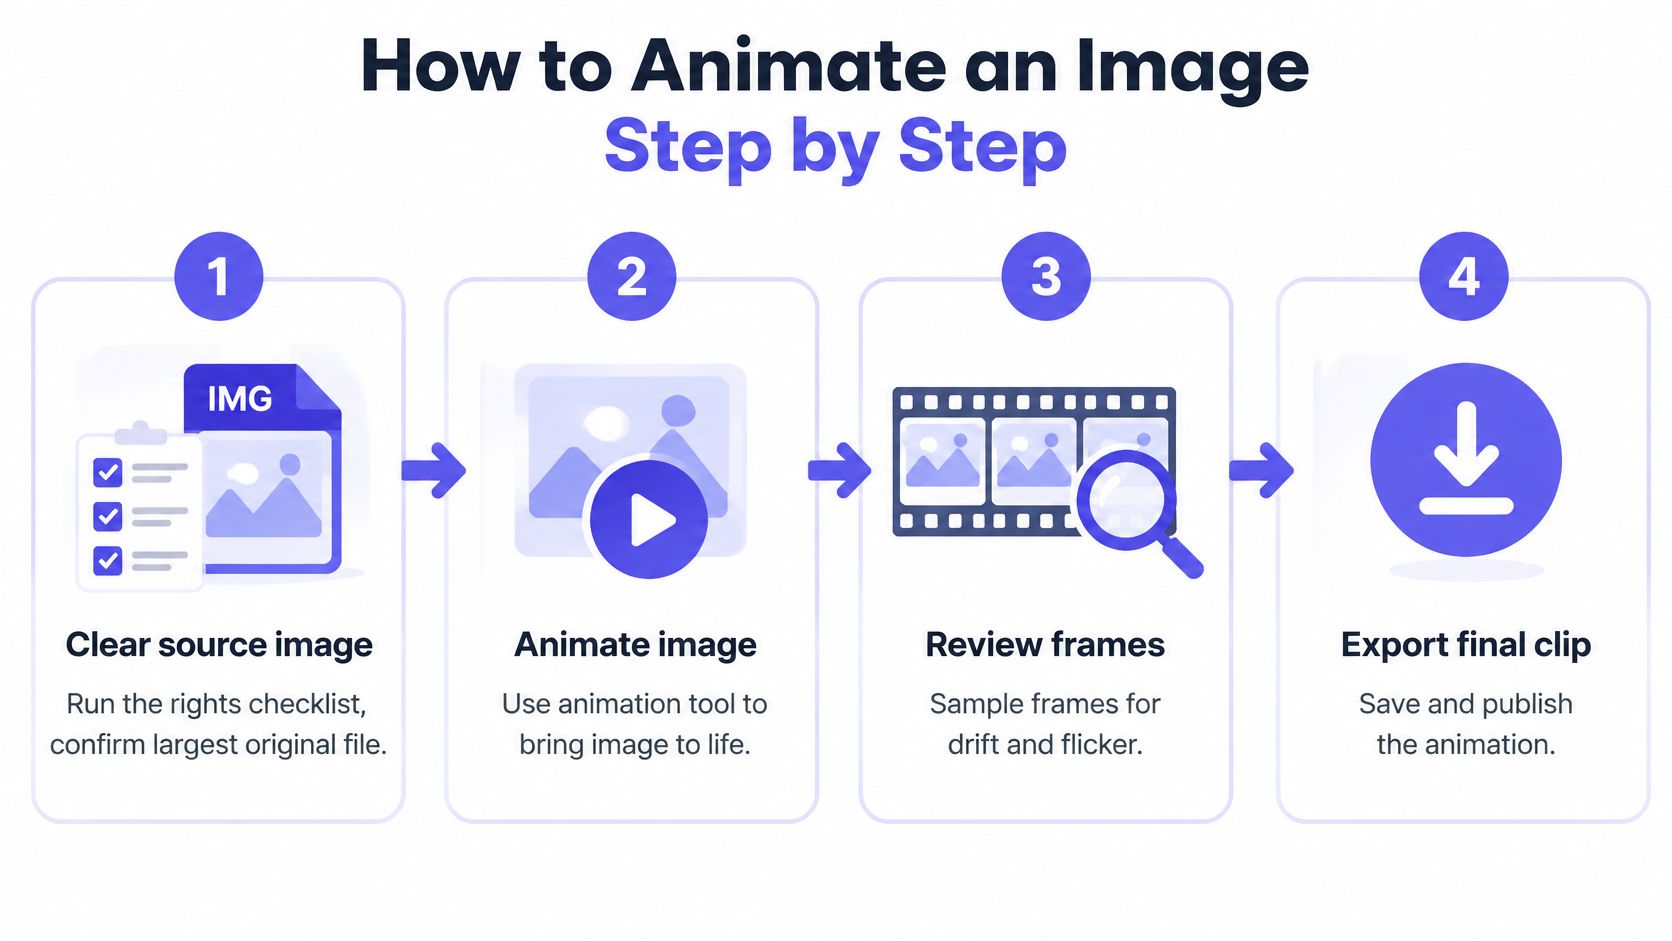
- Clear the source first. Run the rights checklist later in this guide, then confirm the file is the largest original you have. A compressed export is where flicker starts.
- Write one motion sentence. Name a single movement, such as the head turning left or water rippling across the surface. One action is easier to accept or reject.
- Set the duration to 3 to 5 seconds. Shorter clips hold identity better. A five-second test is long enough to see drift and short enough to throw away.
- Choose the model and send the still. Pass the model identifier with the source image. Switching models later is a new test, not a tweak.
- Lock a seed. A fixed seed lets you rerun the same setup after one change. Without it, you can't tell a better prompt from a different roll.
- Wait on the task, not the tab. Text streams back token by token, while image and video jobs return a task you poll or that a webhook reports as ready. In a test on 29 October 2026, a 5-second Kling 3.0 clip took about 80 seconds to generate, so budget the wait before you assume the job failed.
- Download and file the run. Save the source, the prompt, the model identifier, and the seed together. A failed output is only useful if you can change one variable and try again.
The same idea shows up in simpler motion. Pan and zoom listing photos is a useful reference when a property still only needs a slow push, not a generated performance.
A short walkthrough of that generate-and-review loop is worth one play before your first paid run.
Pass the clip only if it plays, the subject is recognizable in the first and last frames, and the motion matches the sentence you wrote.
Write Motion Prompts That Keep the Subject Stable
Treat the prompt as a specification, not a mood. "Cinematic, gentle, alive" doesn't tell the model which part moves or what must stay put.
Separate camera motion from subject motion, and test one at a time. A locked camera with a moving subject is far easier to hold than both moving together. Keep one action per clip. Stacking a dolly, a pan, and a turn in the same five seconds is how identity slips.
Fill this in before you submit.
| Constraint | What to specify | Example |
|---|---|---|
| Starting pose | Pose in the first frame | Head turned 10 degrees left, both arms at sides |
| Ending pose | Pose in the last frame | Head facing the window, cup at chest height |
| Motion trajectory | Path of the moving part | Cup moves in a short arc toward the mouth |
| Action order | Sequence of events | Turn head first, then lift the cup |
| Contact points | What touches what | Right hand stays on the cup handle |
| Speed or easing | Pace and acceleration | Slow ease-in over 2 seconds, no abrupt stop |
Say a woman in a red coat turns her head toward the window, lifts a cup with her right hand, and lowers it. The camera stays locked. The lift eases in over about two seconds and doesn't snap at the end. That paragraph is the whole prompt. Wording patterns for this kind of spec are in the text to video prompts guide.
Practical rule: When a clip breaks a constraint, shorten the motion or strengthen the conditioning. Don't add more adjectives.
If you can't state the constraints in one short paragraph, the motion is too big for one clip. Split it into shots.
Prepare the Source Image and Clear Its Rights
A public photo is not permission to animate it. A clip you can't publish wastes the generation.
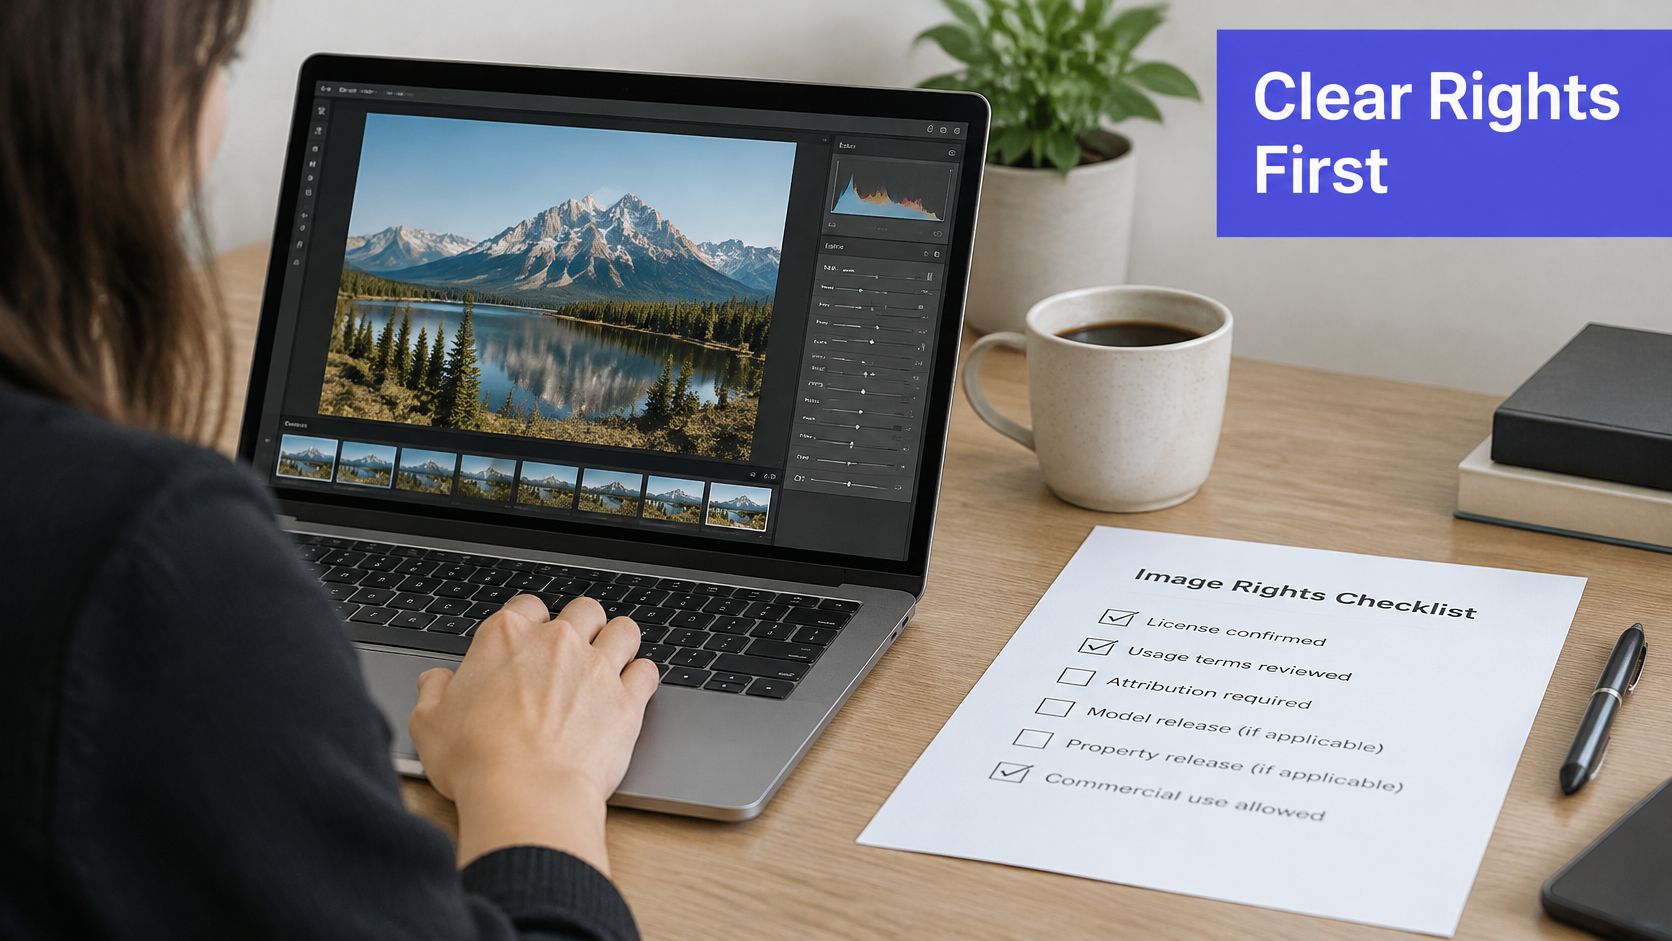
Public availability doesn't establish copyright ownership, permission to create a derivative, or consent for a synthetic portrayal. Guidance on source image rights notes that animating a photograph can create a derivative work, and that permission should explicitly cover modification or AI generation. The photographer, the employer, or another rights holder may differ from the person who posted the file. Consent to appear in a still is not consent to appear moving, endorsing a product, or making a new statement.
Run this before upload:
- Provenance: Who shot it, who owns it, and who posted it.
- Use: Private test or commercial publish. Those are different permissions.
- People: Identifiable adults need a clear yes. Don't animate minors.
- Marks: Logos, labels, and brand colors need their own clearance.
- License text: Stock and Creative Commons terms, including whether AI transformation is allowed, plus attribution if required.
Then prep the pixels. Use the largest original, roughly 1024 pixels or more on the long side. Crop so the subject sits clearly in frame. Mark the region you intend to move. Note hands, text, and logos for the frame review. If you already check geometry before final render on a still, do the same here: bent edges in the source become bent edges in motion. Cropping and cleanup through a photo editing API belong in this step, before any model sees the file.
Keep the original, the license, and the approvals. If any line on the list is unclear, send it to legal review before publication. Licensing and personality rights differ by jurisdiction, so a guess isn't a clearance.
Check Frames for Drift, Flicker and Warped Geometry
The failure that slips through most often is judging a clip from the first and last frames. Endpoints can match while the middle changes the face, the background, or a strap.
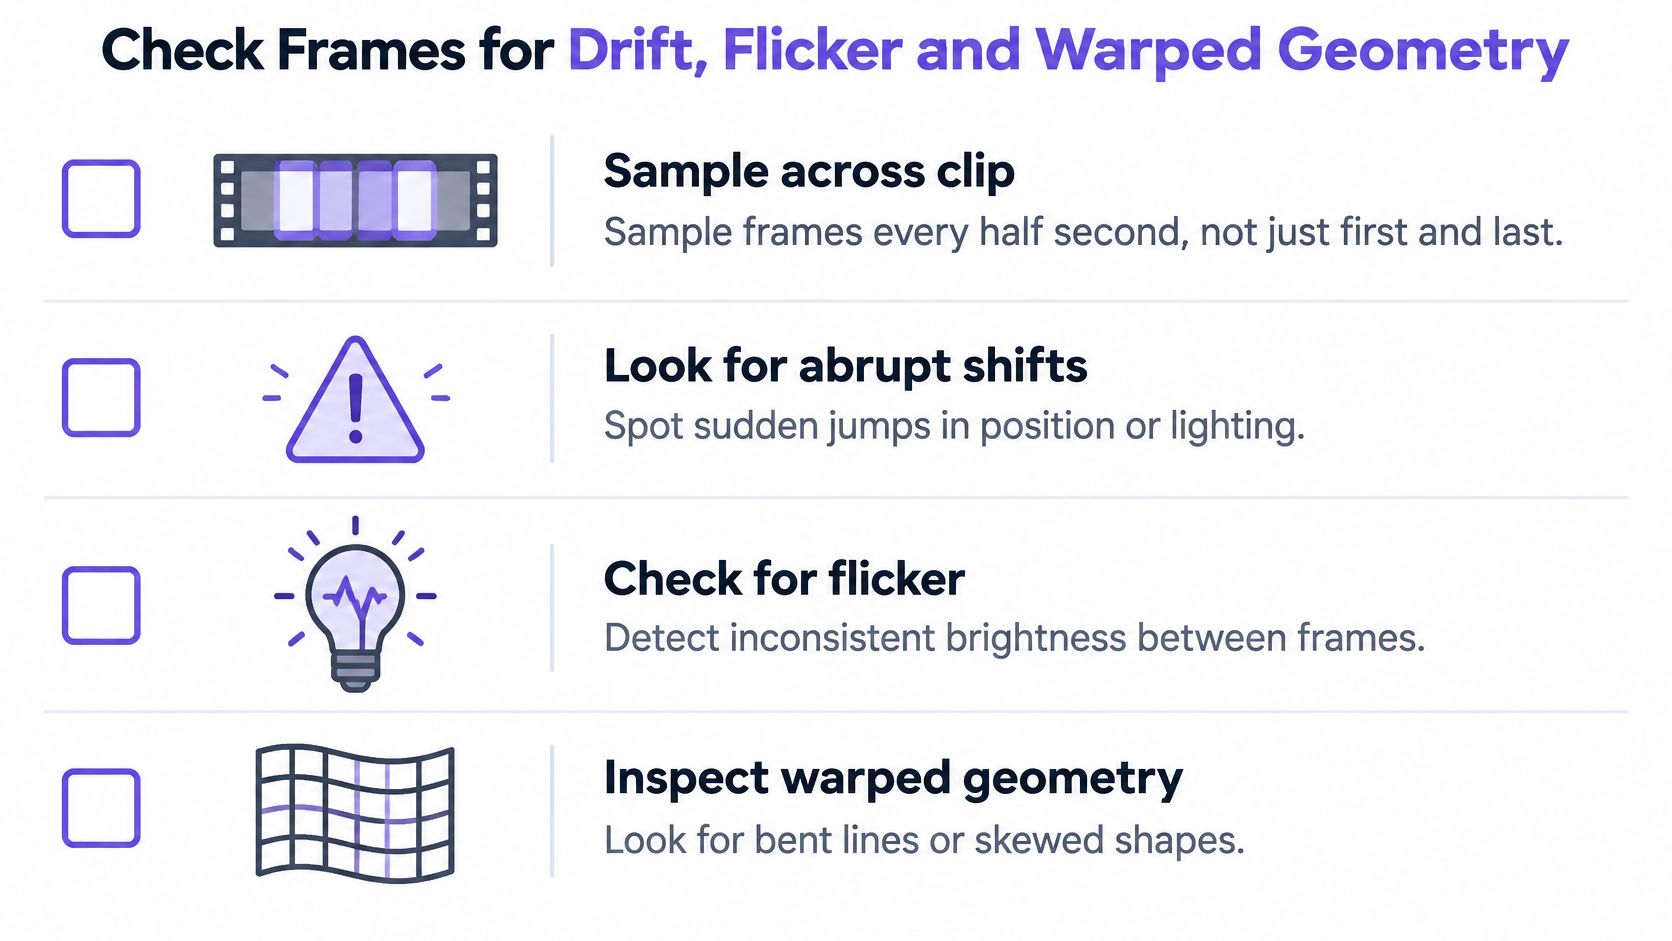
Sample frames across the whole clip, about one every half second. Look for abrupt transitions, identity drift, occlusion errors, and local flicker. Don't stop at a pretty opening.
Score these separately, the way VBench-style evaluation separates them:
- Subject consistency: DINO feature similarity, so the person or product stays the same object.
- Background consistency: CLIP similarity, so the room doesn't repaint itself.
- Temporal flicker: Mean absolute frame differences, which catch unstable fine detail even when motion looks smooth.
- Motion smoothness, dynamic degree, and perceptual quality: Fluid motion is not the same as a stable subject.
A clip can glide and still change the subject's appearance or shimmer in high-frequency texture. Averages hide that. Hands, faces, text, thin structures such as straps or antennae, and anything that passes behind something else need a human look. Feature scores smear those local breaks into a passing number.
Reject or regenerate when identity or background degrades, even if the motion looks fluid.
Normalize the still before you trust any score. Remove compression artifacts, set a subject mask, and decide whether the camera or the object is supposed to move. Then generate a short clip with conservative displacement. A long, "more cinematic" take fails more visibly because identity has more frames in which to slip.
Fix Failed Clips Without Starting Over
A clip with one bad hand movement rarely needs a new model. Change one variable, keep the seed, and rerun the same shot. Changing the seed, prompt, and model at once makes it hard to identify what fixed the problem.
| Symptom | Likely cause | Fix |
|---|---|---|
| Face or hands change shape | Large displacement or ambiguous motion | Shorten the clip and lower motion strength, then rerun with the same seed |
| Background shifts or melts | Camera move competes with subject motion | Lock the camera and move only the subject |
| Flicker in textures or fine detail | Compressed or noisy source | Replace the source with a cleaner file and rerun |
| Action happens in the wrong order | Missing event constraint | State the order in the prompt or split the action into shorter shots |
| Object jumps in or out | Occlusion error | Mask the object and regenerate with stronger conditioning |
TC-Bench checks whether a requested transition is completed, remains consistent through intermediate frames, and preserves object identity. It uses start, end, intermediate, and sampled frames rather than relying on endpoint similarity alone. A programmatic motion-graphics evaluation in the study reported failure rates of 41.5% for reference-pose mismatch, 38.75% for motion-trajectory mismatch, 32.41% for event-coordination mismatch, and roughly 39–40% for linked-part and spatial-contact errors.
| Failure type | Reported rate |
|---|---|
| Reference-pose mismatch | 41.5% |
| Motion-trajectory mismatch | 38.75% |
| Event-coordination mismatch | 32.41% |
| Linked-part and spatial-contact errors | about 39-40% |
Motion-specification errors are one common failure mode to check before changing resolution or switching models. Fix the requested action first: clarify its order, reduce displacement, or specify which parts should stay still.
Use a short retry ladder. Shorten the motion, lower displacement, strengthen conditioning on the source, then split the action into shorter shots. Keep the source image, motion specification, model identifier, seed, and frame scores with the task so each retry tests one change.
After two retries that each change only one variable, stop regenerating the same shot. Change the animation method or assemble the sequence from shorter clips and edit them by hand.
Confirm Your First Clip Before You Scale
Pick one still that already passed the rights check. Write one motion sentence. Generate a 5-second clip with Kling 3.0 Standard, using text to video or image to video, which is the model I'd start with for this test. One balance covers text, image, video, and music models, so the test doesn't need a separate vendor account. A video is billed at its final price once generation completes, which means a short test shows the cost before a batch does.
Then run the frame checks. Sample across the clip, score subject and background separately, and inspect hands, faces, and text.
Pass: scale to a batch of shots only when subject, background, and motion all pass.
Fail: if any check still fails after two single-change retries, change the method. Don't buy ten more of the same miss.
Save that test record, source, prompt, model identifier, and seed, as the baseline for every later clip. The next shot should differ by one deliberate change, not by a fresh guess.
UberLLM routes image-to-video and text-to-video jobs through one API key, with a task you can poll or a webhook when the clip is ready. If you're turning stills into short, checkable shots instead of one long gamble, start with a single seeded test on UberLLM and keep the source, prompt, and seed with the result.