How to Convert Link Into Video Without Losing Facts
Learn how to convert link into video in six steps: check the page, build a source-linked script, render clips, and review before publishing.
You've got a URL that looks perfect for a video: a well-written product page, a detailed blog post, a tidy landing page. You paste it into a link-to-video tool, pick a voice, hit generate, and half a minute later you're watching something polished and confident. Then you notice the price on screen is the one from last quarter, the headline is a slightly wrong paraphrase, and the key qualification from paragraph six never made it in. The video looks great. It's just not true.
That gap between a good-looking render and an accurate one is where most link-to-video projects fail. The generation step is the fast part now. The slow, decisive part is what happened before the first frame was rendered: what the tool pulled off that page, what it dropped, and what it invented to fill the hole. A convert link into video workflow that treats extraction as a formality will keep producing clips that need retracting.
Table of Contents
- Check Whether a Link Will Convert Well
- Choose a Workflow That Fits Your Source
- How to Turn a Link Into a Video Step by Step
- Fixing Common Breaks in Converted Videos
- Make the Video Safe to Publish Everywhere
- Run Your First Conversion With a Starter Model
Check Whether a Link Will Convert Well
Start with the page, not the tool. Open the URL in a private browser window and run three checks that take about two minutes.
- Does the body text appear immediately? If you have to click "read more", expand accordions, or scroll past a wall of hero imagery to reach real sentences, the extractor will struggle too.
- Is it behind a login or paywall? Private windows show you the anonymous experience, which is usually what your extractor gets.
- How much actual copy is there? A page with a few hundred words of body text rarely gives a video enough story. You'll supply the rest yourself.
That third check kills more projects than the other two combined. A landing page built from a headline, three icon labels, and a form looks substantial on screen but yields almost nothing a script can use.
Test what the extractor sees, not what you see
A JavaScript-rendered page can look complete in your browser and arrive at the tool as an empty shell. Disable scripts, or view the raw HTML source and search for the headline. If the headline isn't in the raw HTML, the page builds its content client-side and your extractor needs a browser-rendered capture instead of a plain fetch.
Use this table to sort the page before you commit to a route.
| Page type | What extracts reliably | Main risk | Fallback input |
|---|---|---|---|
| Long article or blog post | Headings, paragraphs, publication date | Opinion presented as fact | Paste the key claims with their sources |
| Product page | Product name, features, listed specs | Prices and stock change after publishing | Upload a dated spec sheet |
| JavaScript-rendered app page | Often little or nothing | Empty or partial text | Use a browser-rendered capture or paste the text |
| Paywalled or login page | Teaser text only | Missing context and qualifications | Provide your own notes or licensed text |
| Image-heavy landing page | Headlines and alt text only | Thin narrative | Write a short script and upload the images |
| Multilingual or regional page | Text in one language version | Regional terms, prices and dates differ | Confirm the target locale first |
Before any tooling, write down the single claim the video must make, then search the page for it. If the claim isn't there in words you can quote, the link is a weak source no matter how good the design looks. Reach for pasted notes or uploaded assets instead.
Practical rule: if you can't point to the sentence that supports your main claim, you don't have a source. You have a topic.
Choose a Workflow That Fits Your Source
Three questions pick the route for you. Does the video need to state facts that someone could check? If yes, the script comes first and generative models handle only visuals, because a generated clip can add motion but cannot cite anything. Is this a short social cut or a narrated explainer? Templates move fast on blog posts, while an avatar presenter suits explainers that need a face and a steady voice. How many of these will you make this month? Repeat work justifies a template or a pipeline; a one-off launch video is often faster to script and edit by hand.
The first fork matters most, and it's the one most guides skip.

When facts carry weight, decide on the source type and the claim risk, never on which preview looks most impressive. A generated clip of a generic office will not mislead anyone. A generated clip of a product that doesn't match the spec sheet misleads everyone.
| Route | Best for | Control over source facts | Typical turnaround |
|---|---|---|---|
| Template-based link-to-video tool | Quick social clips from blog posts | Low, layout and wording follow the template | Minutes |
| Text-to-video generative model | Mood, motion and abstract visuals | Medium, facts must be scripted by you | Seconds to a few minutes per clip |
| Image-to-video from page screenshots | Product and landing pages with strong photography | Medium-high, uses the page's own images | Minutes |
| Avatar presenter video | Explainers that need a face and narration | Low, driven by the script | Minutes |
| Manual edit from a source-linked script | Regulated, financial or high-stakes claims | Full | Hours |
Image-to-video from the page's own screenshots deserves more use than it gets. On a product page with good photography, animating the existing shots keeps the visuals honest, because you're moving the actual images rather than approximating them. The catch is that it inherits every error in those images, including a discontinued colourway or an old logo on a device mockup.
If you're building this into a product rather than producing one video, the same logic applies to the API layer: a pipeline that treats extraction, scripting and generation as separate stages you can inspect, rather than one black-box call, is covered in this guide to an AI video generation API. For teams repurposing written content at volume, Wideo's walkthrough on how to convert articles into animated videos shows the assembly side once the script is settled.
The route you choose should match the claim risk, not the demo you watched. Templates and avatar tools both put the words in the tool's hands as much as yours. That's fine for a listicle. It's not fine for a pricing page.
How to Turn a Link Into a Video Step by Step
Run the conversion as six stages with a gate after each one. A well-structured pipeline separates content extraction, semantic planning, asset selection, generation, and validation, as described in the VideoGen research paper on automated video generation, and that separation lets you audit a finished clip instead of trusting it.
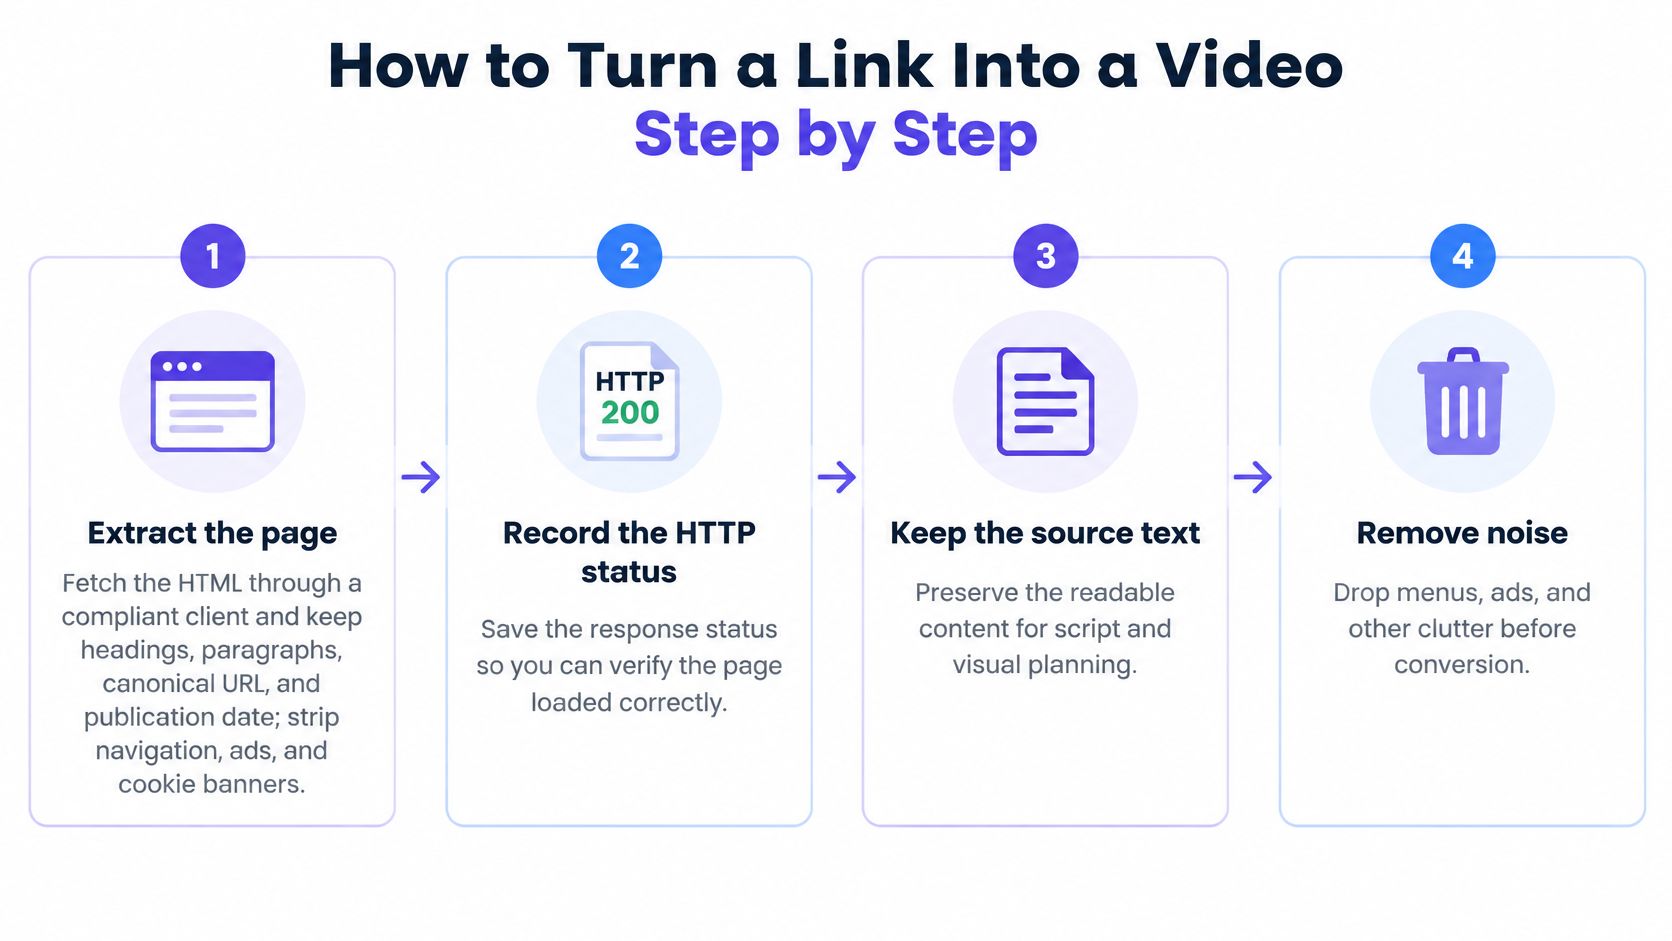
1. Extract the page properly. Fetch the HTML through a compliant client. Keep headings, paragraphs, the canonical URL and the publication date, and strip navigation, ads, cookie banners and duplicated text. Record the HTTP status and the final URL as you go, because a redirect often means you converted a different page than the one you pasted. That record is also your evidence if a claim is challenged later.
2. Build a source-linked scene plan. Turn the cleaned content into scenes carrying one claim or narrative beat each, and attach the source sentence to every scene. This single habit catches more errors than any model setting: a line with no source span beside it is an invention you can cut before it reaches a render.
3. Write the storyboard before generating anything. For each shot, note duration, narration, on-screen text and the visual asset it needs. Keep each shot to one action. Long prompts containing several actions produce inconsistent motion, so splitting them into atomic shots is a fix, not a style preference.
4. Generate or assemble short clips. Render short segments rather than one long sequence, and use reference images or a persistent subject description so people and products look the same from shot to shot. Stronger pipelines condition on text-to-image or reference images first, then apply latent video diffusion, temporal upsampling and decoding, the architecture the VideoGen paper sets out.
Practical rule: one shot, one action, one sentence of source. If a shot needs two sentences to justify it, it is two shots.
5. Assemble and caption deliberately. Join the clips with fixed encoding settings so the output is reproducible, normalize loudness so nothing clips, and keep captions on a separate track from the burned-in version. Deterministic FFmpeg settings matter here: a re-render should produce the same file, not a slightly different one.
6. Screen the output against a stated gate. Judge each clip on visual quality, motion quality, temporal consistency and text-video alignment, the dimensions current video-generation research keeps returning to. A clip that fails the gate goes back to the stage that caused the problem, never into the timeline.
Don't expect a universal success rate from any of this. Model rankings shift with the task being tested, so route work through your own task-specific checks rather than a vendor scoreboard. A 30-second clip built from a 600-word product page usually lands best as five to eight shots, each tied to one sentence of the source. If you want a faster first pass at the teaser end of the spectrum, ShipTeaser's guide on how to generate a teaser from any URL covers the short-form version of this pipeline.
Fixing Common Breaks in Converted Videos
Work from the symptom backwards. When something is wrong in the output, the cause is almost always in one of four places: source access, lost content, unstable motion, or an unsupported claim. Naming the category narrows the fix to one change in the next render.
| Symptom | Likely cause | Fix |
|---|---|---|
| Video describes the wrong product or is generic | Page is JavaScript-rendered and the extractor got a shell | Use a browser-rendered capture or paste the spec text |
| Tables, prices or footnotes missing | Extraction skipped tables and captions | Compare with visible headings and add the figures by hand |
| Subject or logo changes between shots | Long prompt with several actions | Split into single-action shots and add a reference image |
| Flicker or jumping frames | Temporal instability in the model | Regenerate candidates with a fixed seed and keep the best |
| On-screen text unreadable | Font too small or outside the safe area | Enlarge text and move it inside the subtitle safe area |
| Scene makes a claim not in the source | Model invented a detail | Remove the scene or tie it to the sentence it came from |
| Access denied or blank extraction | Robots block, paywall or regional variant | Stop and use licensed text or a pasted copy |
The access problem comes first
If the page is blocked, paywalled or only available in another region, stop. Switch to licensed text or a pasted copy you have the right to use. Never work around robots rules, paywalls or access controls to get the content, because a video built on that footing isn't publishable no matter how clean the render looks.
Extraction drops more than you think
Compare the extracted text against the headings you can see on the live page. Tables, captions, footnotes and embedded media go missing without notice, and they're usually where the qualifying detail lives. Financial figures, restrictions, and "available in selected markets" lines are exactly the kind of content that vanishes.
Temporal consistency remains a recognized bottleneck in generation. Even leading systems score substantially lower on interaction and motion than on global appearance in multimodal web and video evaluation, as reported in this study of video generation evaluation. Practically, that means wide establishing shots hold up while hands, products and fast movement fall apart.
Run automated checks for frame-to-frame perceptual jumps, OCR confidence on on-screen text, subtitle safe areas, face and logo drift, and audio-video synchronization. Then sample by hand before publishing.
Practical rule: score each criterion separately and keep the per-criterion pass rate. Averaging everything into one number hides the failure you needed to see.
If you're moving from stills to motion rather than from text, the same fidelity logic applies to a screenshot to video workflow, where the source image is the record and any drift from it is a defect.
Make the Video Safe to Publish Everywhere
A finished MP4 is not a publishable video. The two get confused constantly, and the confusion is expensive.
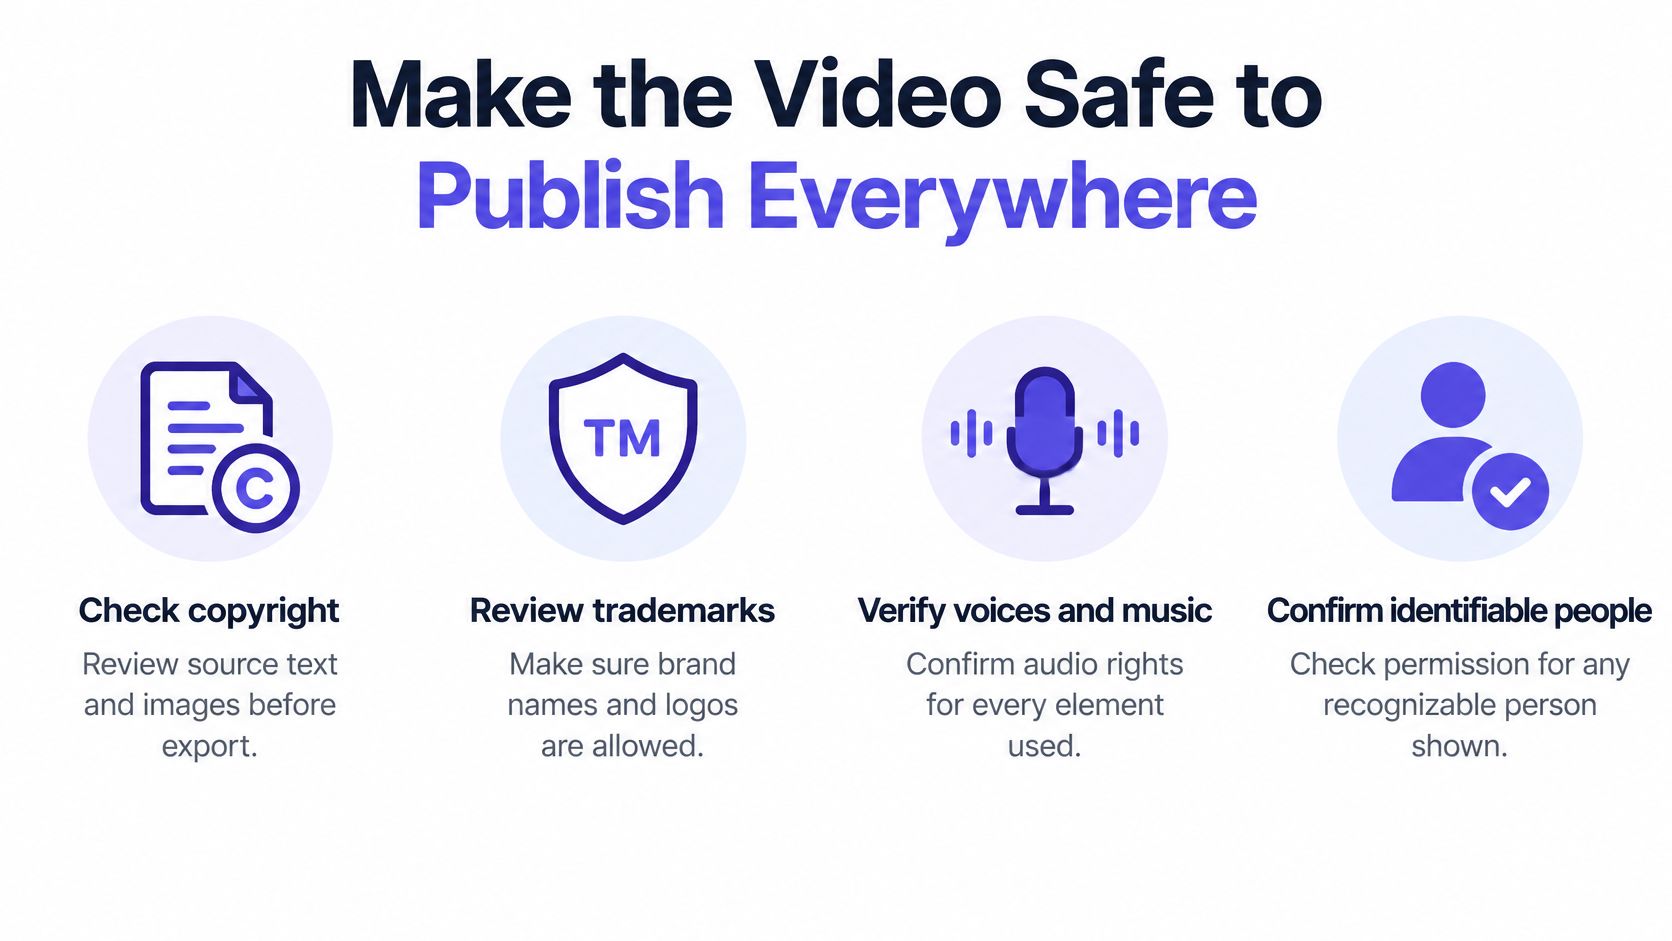
Start with rights. Check copyright in the source text and images, trademarks, voices, music, and any identifiable person who appears. Get a model release where a real person is shown. Linking to a page is not the same act as republishing its content, so credit the source on screen or in the description and keep the URL in the file notes. Do not present generated visuals as documentary evidence: a synthesised shot of an office is illustration, and labelling it as anything else is a problem you own. The practitioner analysis of URL-to-video risk makes the point that most tool coverage skips rights clearance and accessibility entirely, and the gap is real.
Captions need more than automatic subtitles. Check accuracy against the script, identify speakers, verify contrast against the background, confirm timing leaves each line readable, and have a native speaker review every translated version. Auto-captions on a technical term produce confident nonsense at speed.
Export per destination, not once
One master file does not serve every feed. Vertical short-form autoplays and crops wide frames; a landing page video needs a caption file rather than burned-in text for accessibility. Set each export deliberately.
| Destination | Aspect ratio | Caption need | Main risk |
|---|---|---|---|
| Vertical short-form feeds (TikTok, Reels, Shorts) | 9:16 | Burned-in captions | Silent autoplay; text falls outside the safe area |
| Square or 4:5 social feeds | 1:1 or 4:5 | Burned-in captions | Wide frames get cropped on mobile |
| Landing page or long-form video | 16:9 | Separate caption file (SRT or VTT) | Captions missing for accessibility |
| Regional or translated version | Same as destination | Translated captions reviewed by a native speaker | Regional terms, currency and dates differ |
When a rejected upload is the problem, Mallary.ai's reference on avoiding cropped or rejected video uploads is worth keeping open during export. Specs change, and a file that passed last quarter can bounce today.
Delivery belongs in the same chain as clearance. A render that's legally clean still has to be retrieved and stored somewhere durable, and this guide on how to get videos covers the file handling once a job completes.
The pre-publication checklist
Work through this in order, every time, before anything goes live:
- Rights cleared for text, images, music, voices and people.
- Every claim traced to a source sentence.
- Dates and prices confirmed as current.
- Captions checked for accuracy, timing and contrast.
- AI-generated content label applied where the platform requires it.
That list takes ten minutes and prevents the failure that costs a week.
Run Your First Conversion With a Starter Model
Pick a page you know inside out: clear body copy, stable numbers, and one claim worth making. Plan a 10 to 15 second clip, no longer. Familiar source material means any weird caption, warped logo or missed date points to a pipeline fault rather than source ambiguity.

For the first run, keep the model predictable. Kling 3.0 Standard is a sensible starting point for text-to-video or image-to-video work because it gives a clean read on whether the script and reference images are doing their job before you add faster models, sound or upscale passes. Keep the economics boring too: shorter clips cost less to iterate than longer ones, and a 5-second pass is enough to expose bad motion, clipped captions and text drift before you commit to the full cut.
Then run the same order you already built: extraction, scene plan, render check against the symptom table, publishing checklist. Audit the source before the render, not after. Log the source URL, extraction timestamp, rights status and model settings next to the file so a later question about a price, date or claim can be answered from the record.
UberLLM runs an AI inference marketplace where video models like Kling, Veo, Seedance and Wan sit behind one OpenAI-compatible API key and one prepaid balance, so the audit workflow does not need four vendor accounts or four credential sets. You can compare outputs side by side in the dashboard playground, render a 5-second test, and check motion and text handling before a longer clip. Visit UberLLM to see current per-second pricing and start with a short test conversion of your own.