How to Get Videos: Download, Stream, or Generate
Learn how to get videos legally: download files you have rights to, stream from platforms, or generate AI clips, with costs, rights checks and fixes.
You exported the cut, the page still shows a black player, and the client wants the file by morning. That is the usual moment people search how to get videos. The folder holds a stock clip you never read the license for, an embed that only works on the host's site, and an AI take that looks fine until someone asks who owns the face.
Start with three checks, not a new app. Do you need a file or only playback? Do you hold the rights for the place it will run? Is the footage already made, or do you still have to create it? A pretty near-miss fails all three. A reliable route answers them before you spend money or store bytes.
Table of Contents
- Choose the Right Way to Get a Video
- Download, Embed, or Record Your Own Video
- Pull Video Data From YouTube Legally
- Get Video Files You Are Allowed to Use
- Generate and Verify One AI Test Clip
- Fix Failed, Slow and Off-Target Video Jobs
Choose the Right Way to Get a Video
Do you need a file or playback? Streaming delivers video progressively during playback. Downloading transfers a complete file for later or offline use. People use one keyword for both jobs, then wonder why an embed cannot drop into an editor.
Do you hold the rights? A play button is not a license. Ads, remixes, and client delivery need a grant you can show.
Do you need new footage or existing footage? Owned files, hosted players, and metadata lookups cover what already exists. A camera or a generator covers what does not.
That split is infrastructure, not a new feature. A Cisco visual networking forecast reported that internet video already represented approximately one-third of consumer internet traffic in 2008, excluding peer-to-peer file sharing, and projected that internet video alone would exceed 60% of consumer internet traffic by 2013. Delivery already depended on bandwidth, storage, and distribution, not only on the site that listed the title.
| Method | Best for | What You Get | Check Before Use |
|---|---|---|---|
| Download from a source you own or license | Your own footage or licensed stock | An original file you control | Confirm the license allows your use |
| Stream or embed a hosted video | Showing a video inside a page or app | Playback, not a file | Embed only where the host allows it |
| Read video data with the YouTube Data API | Finding and organizing videos | Video IDs, titles and durations | Metadata access does not grant download rights |
| Generate a clip with an AI video model | New footage from a prompt or image | A new file for each successful job | Check the model's commercial-use terms and keep records |
| Record or edit your own footage | Tutorials, demos and real events | Full ownership of the file | Clear permission for recognizable people and music |
Match the row to the job before you open a tool. A file you already paid for, a player on a page, or a camera shoot stays in the next section. IDs and titles stay on the API path. A clip that does not exist yet goes to generation, and video API pricing only matters after the rights check.
Download, Embed, or Record Your Own Video
These three routes skip generation. Each step exists so the file still plays, and so you can prove you were allowed to keep it.
- Save a file you own or license. Use the owner's delivery link or the export from your own project. Store the license or purchase receipt in the same folder. Read the grant for the actual use, such as a paid ad or a client handoff, before you archive the bytes. A personal-use stock license fails that test even when the download succeeds.
- Embed a hosted video. Copy the embed code the host provides, such as the share code on YouTube or Vimeo, and paste it where your page or app accepts HTML. Confirm the host allows embedding on your domain. Viewers stream the picture, so you never hold a master. If the owner removes the video, your page goes dark.
- Record your own footage. Shoot at 1080p or higher, and set the frame rate to the delivery standard, usually 24, 25, or 30 frames per second. Capture speech on a separate microphone when words matter more than room tone. A phone mic in a cafe is the usual reason a tutorial looks fine and sounds unusable.
- Clear people and music. Get a written release from anyone recognizable, and license or replace music before you publish. Your camera does not erase someone else's performance right or a song's copyright.
- Edit, export, and keep the source. Cut in a non-linear editor such as DaVinci Resolve, Premiere, or the editor already on your machine. Export at the resolution and codec the destination asks for, then keep the camera originals beside that export.
Practical rule: Play the export on the device and platform viewers will actually use, and confirm that audio stays in sync with picture.
Pull Video Data From YouTube Legally
The YouTube Data API returns metadata and helps you find a permitted source. It does not hand you the picture and sound. Treat it as a catalog, not a download button, and decide what you are allowed to keep before you write the fetch code.
The read sequence
- Authenticate every request with an API key or an OAuth 2.0 token. An unsigned call fails, and a key leaked into client-side code burns your quota.
- Collect candidate IDs with
search.listor a playlist endpoint. Search finds possibilities. It does not prove a video is still public. - Read only what you need. Call
videos.listfor thesnippetandcontentDetailsparts, and restrict fields so the payload stays small. - Validate duration and availability before you store a row. A private, deleted, or region-blocked ID should not land in a public playlist.
- Send the person to authorized playback or export. Link the watch page, or use an embed the host allows. Do not fetch the media file yourself.
The YouTube Data API reference documents each method, its parts, and its field filters. Field selection keeps quota and bandwidth under control when a catalog job runs all day.
The mistake that gets accounts shut down
Developers treat a successful metadata call as permission to save the audiovisual file. A successful response answers only the question you asked. Whether you may copy media bytes depends on the platform's terms and the rights holder, and a working API call settles neither.
A compliant pipeline stores IDs, titles, durations, authorization state, and playback references. It does not store media bytes unless the rights holder and the platform both authorize file retrieval in writing.
Say you are building a lesson index. Keep the video ID, the title, and a link to the player, then re-check availability when a viewer clicks, because a video indexed on Monday can go private by Friday. Leave the bytes on YouTube.
Get Video Files You Are Allowed to Use
A finished download is not the same thing as a file you can sell, advertise, or hand to a client. Run this checklist before the clip leaves your machine.
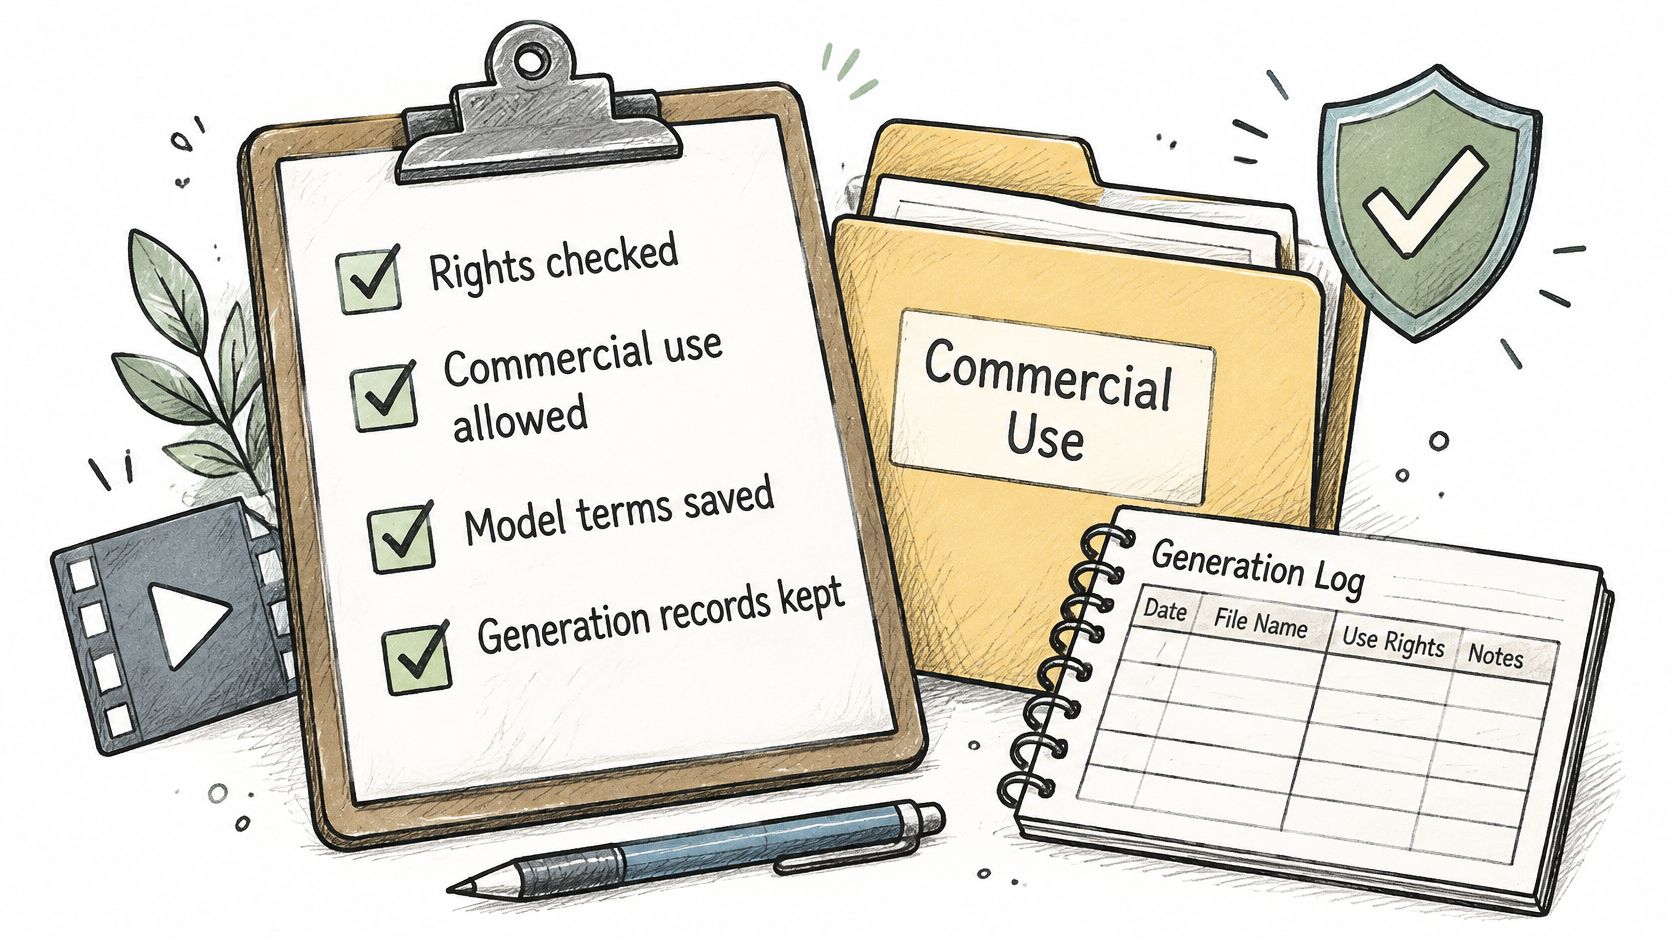
- Keep the terms with the job. Save the model's commercial-use terms next to the generation record, including prompt, settings, and date.
- Skip unlicensed likenesses and marks. Avoid recognizable people, brands, and copyrighted characters unless you have written authorization.
- Write down the human work. Note the edits and creative decisions you made. That record is what you can describe as yours.
- Split platform permission from copyright. A host can let you download a clip without giving you ownership of the result.
Apply the list where the video will run, not only where you made it. A contract signed for one country can still block a campaign that plays in another.
An Adobe study of creative work and AI found that 90% of surveyed creators said copyright protection is important for AI-assisted work, while 70.5% of U.S. and 74.9% of U.K. creative professionals opposed training models on artists' work without consent. That is why each checklist line exists. Training-data objections and likeness risk do not vanish because the render looks clean.
The most realistic model is often the wrong pick for client work. Prefer clearer licensing, inputs you can control, and a log you can audit.
Generate and Verify One AI Test Clip
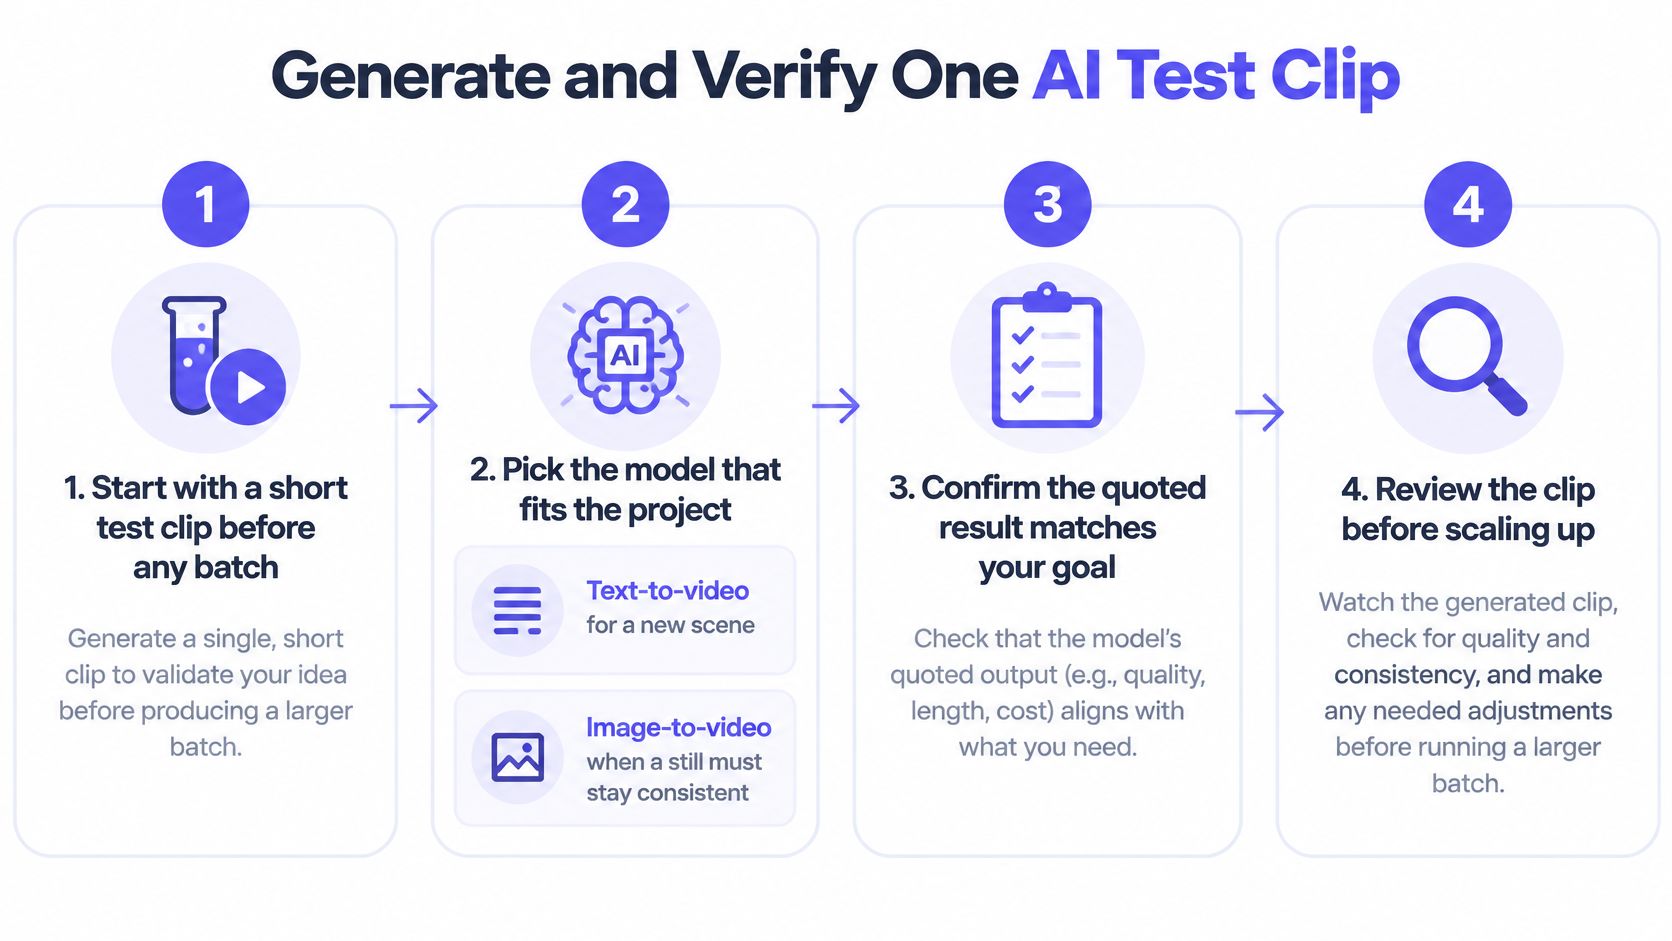
Do not open with a batch. One short test shows whether the model, the spend, and the brief agree.
Set the test before you pay for length
- Pick the model for the shot. Use text-to-video for a new scene, or image-to-video when a still must stay consistent. We recommend Kling 3.0 Standard as the first video model to start with, on either of those two paths. A product still that must match the photo belongs on image-to-video. A scene you have only described belongs on text-to-video.
- Read the maximum cost in the reply before the video starts, and approve that spend. A video that fails is not billed. If the quoted ceiling is higher than the test budget, stop and shorten the clip.
- Write subject, action, camera, and setting. "A person in a kitchen" produces near-misses. "A baker slides a tray toward camera, slow push-in, flour-dusted steel table, morning window light" gives the job something to hit.
- Lock length and resolution to the delivery format before you submit. Changing either one later is a new paid job.
A walkthrough of turning a still into motion sits in this screenshot to video guide if the test starts from an image rather than a sentence.
Track the job, then judge the file
- Submit and store the job ID with the prompt, model, and settings.
- Poll at a steady interval with a timeout, or register a webhook that tells your app when the file is ready. Hammering the status endpoint does not make the render faster.
- Download into your own storage as soon as the job completes. Result files from a video job are kept for about 3 hours, so a link you leave overnight is gone.
- Check the clip against the brief. The subject stays consistent, the motion looks natural, the framing matches, and the rights checklist fits the intended use.
Scale to a batch only after that test passes. The same review is easier to see than to describe.
Fix Failed, Slow and Off-Target Video Jobs
Most bad batches are the same six failures. Name the symptom, change one cause, and stop spending on repeats.
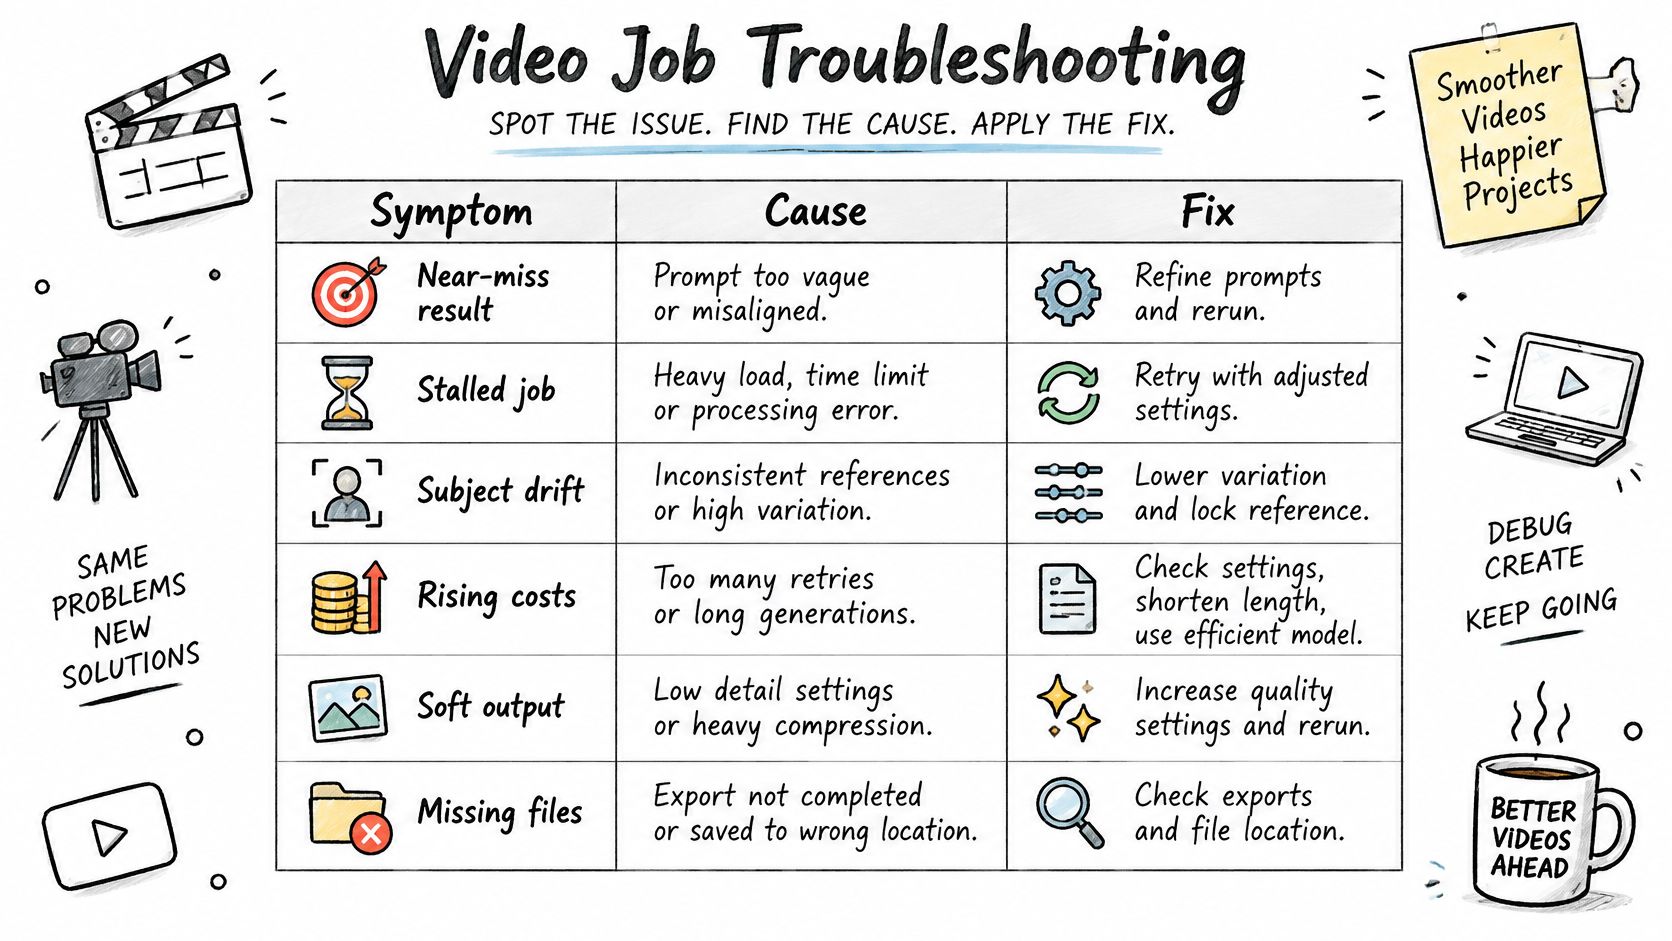
| Symptom | Likely Cause | Fix |
|---|---|---|
| Near-miss results on every try | Prompt changes too many things at once | Change one variable per run and lock subject and style references |
| Job stalls or never returns | Polling too often or no timeout set | Poll at a steady interval, set a timeout, then resubmit once |
| Subject drifts between clips | No reference image or seed | Lock a reference image and record the seed |
| Costs climb quickly | Full-length clips retried again and again | Test with short clips and retry only defective outputs |
| Output too soft for final use | Resolution chosen too low for delivery | Choose the delivery resolution before generating |
| Result missing after a few hours | File not downloaded in time | Download and store the file as soon as the job completes |
Spend in stages, then stop
Generate low-cost storyboards first. Lock subject and style references. Cut short clips before you ask for longer sequences. Retry only outputs that failed or are materially defective, and keep the model, seed, prompt, settings, and asset version on each try. Prompt patterns for that first storyboard are in this text to video prompts guide.
A generative media industry report found that 37% of organizations prioritize reliability and uptime, compared with 41% for generation speed and 58% for cost optimization. The same report priced one eight-second example from $0.40 at lower quality to $3.20 at higher quality. Five careless retries of the expensive setting are no longer a test. Set a cost cap for each batch and stop when you hit it.
No clip reaches a client or an audience until a person has watched it. Task tracking, a fallback model, and a spending limit still need that human gate.
UberLLM routes text-to-video and image-to-video jobs through one API key, shows the maximum cost before a clip starts, and does not bill a video that fails. If you are wiring generation into an app and want polling, webhooks, and your own storage for the finished file, try it on UberLLM.